- English
- French
- German
- Portuguese
- Spanish
- Russian
- Japanese
- Korean
- Arabic
- Greek
- German
- Turkish
- Italian
- Danish
- Romanian
- Indonesian
- Czech
- Afrikaans
- Swedish
- Polish
- Basque
- Catalan
- Esperanto
- Hindi
- Lao
- Albanian
- Amharic
- Armenian
- Azerbaijani
- Belarusian
- Bengali
- Bosnian
- Bulgarian
- Cebuano
- Chichewa
- Corsican
- Croatian
- Dutch
- Estonian
- Filipino
- Finnish
- Frisian
- Galician
- Georgian
- Gujarati
- Haitian
- Hausa
- Hawaiian
- Hebrew
- Hmong
- Hungarian
- Icelandic
- Igbo
- Javanese
- Kannada
- Kazakh
- Khmer
- Kurdish
- Kyrgyz
- Latin
- Latvian
- Lithuanian
- Luxembou..
- Macedonian
- Malagasy
- Malay
- Malayalam
- Maltese
- Maori
- Marathi
- Mongolian
- Burmese
- Nepali
- Norwegian
- Pashto
- Persian
- Punjabi
- Serbian
- Sesotho
- Sinhala
- Slovak
- Slovenian
- Somali
- Samoan
- Scots Gaelic
- Shona
- Sindhi
- Sundanese
- Swahili
- Tajik
- Tamil
- Telugu
- Thai
- Ukrainian
- Urdu
- Uzbek
- Vietnamese
- Welsh
- Xhosa
- Yiddish
- Yoruba
- Zulu
How to Calibrate Yokogawa Pressure Transmitter?
2024-08-08 10:59:47
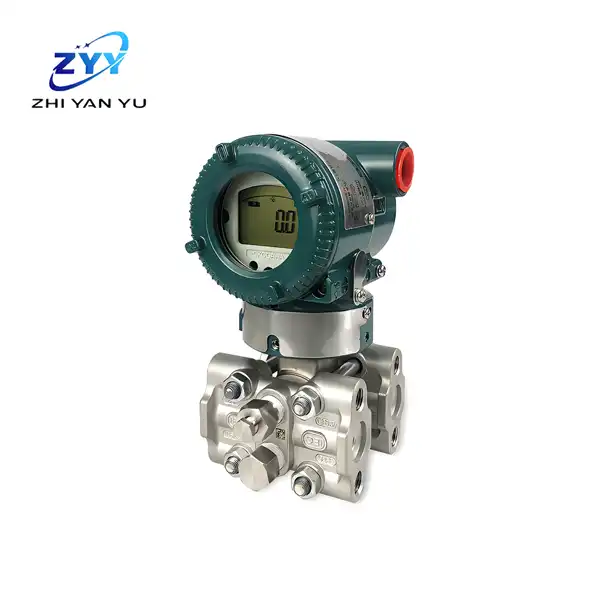
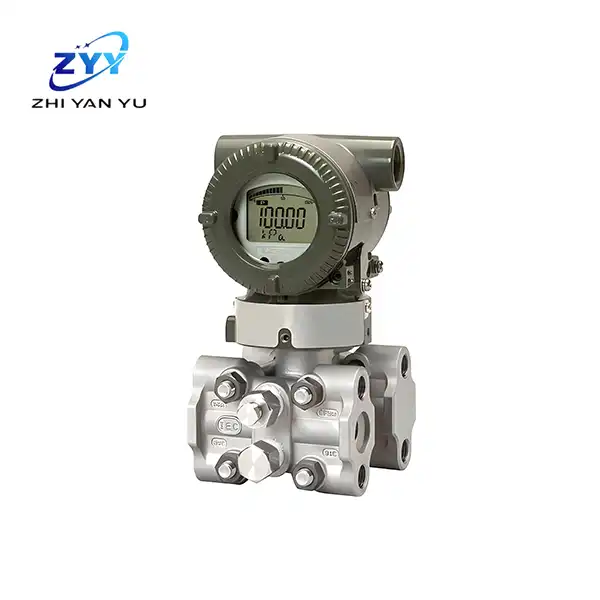
Calibrating a pressure transmitter like the Yokogawa EJA310A Absolute Pressure Transmitter is a critical task to ensure accurate and reliable measurements in various industrial applications. This comprehensive guide will walk you through the calibration process step by step, ensuring you achieve optimal performance from your transmitter.
Why is Calibration Important?
Calibration is essential because it ensures that the pressure transmitter provides accurate readings, which are crucial for maintaining process control, safety, and efficiency. Regular calibration helps in detecting and correcting any deviations or errors in the measurements, thus ensuring that the transmitter operates within its specified accuracy range.
Preparing for Calibration
Before starting the calibration process, it is important to gather all necessary tools and equipment. Here’s what you’ll need:
· Yokogawa EJA310A Absolute Pressure Transmitter
· Standard Pressure Source (calibrator)
· Multimeter
· HART Communicator
· Calibration Software (if available)
· Calibration Certificate
Ensure that the transmitter is correctly installed and that there is no damage or wear that might affect the calibration process.
Step-by-Step Calibration Process
1. Isolate the Transmitter
Begin the calibration process by isolating the yokogawa absolute pressure transmitter from the active process. This involves closing the isolation valves to stop the flow of process fluid and venting any residual pressure from the transmitter. Confirm that the transmitter is at atmospheric or zero pressure before proceeding to ensure that the calibration starts from a stable baseline. Proper isolation is crucial to prevent any interference during the calibration process.
2. Connect Calibration Equipment
Next, connect the standard pressure source to the transmitter’s pressure input. Attach a multimeter to measure the transmitter’s output signal accurately. If a HART communicator is being used, connect it to the transmitter to facilitate configuration and real-time monitoring during the calibration process. Ensure all connections are secure and verify that the equipment is functioning correctly before continuing.
3. Apply Known Pressure Values
Apply a series of known pressure values to the transmitter using a calibrated pressure source. Typically, you should apply pressures at 0%, 25%, 50%, 75%, and 100% of the transmitter’s full-scale range. At each pressure setting, record the corresponding output signal from the transmitter. This step is essential for mapping the transmitter’s response and ensuring it aligns with the expected values throughout its range.
4. Adjust the Transmitter
Using the HART communicator or appropriate calibration software, adjust the transmitter’s zero and span settings based on the recorded output signals. Align these settings so that the transmitter’s output accurately corresponds to the applied pressure values. Proper adjustment ensures that the transmitter provides precise measurements across its entire range, maintaining its accuracy and reliability.
5. Verify Calibration
After making the necessary adjustments, verify the calibration by reapplying the known pressure values and checking the output signals once more. The output should now fall within the transmitter’s specified accuracy range. If the results are not as expected, repeat the adjustment and verification steps until the transmitter performs accurately. This ensures the calibration process has been completed correctly.
6. Document the Calibration
Once the calibration is successfully completed, document all relevant results, including the applied pressure values, output signals, and any adjustments made. This documentation is vital for compliance and future reference, often included in the calibration certificate. Accurate record-keeping supports ongoing maintenance and provides verification that the transmitter has been calibrated according to industry standards.
Best Practices for Calibration
Regular Calibration Intervals
Maintaining the accuracy and reliability of the Yokogawa EJA310A Absolute Pressure Transmitter requires regular calibration. Calibration should be performed at intervals of six months to one year, depending on the specific application and operational environment. Adhering to these intervals helps ensure that the transmitter continues to provide precise measurements and operates effectively, preventing potential errors that could impact system performance.
Use High-Quality Calibration Equipment
Employing high-quality calibration equipment is crucial for ensuring accurate and dependable calibration results. Make sure to use equipment that is properly maintained and frequently checked for accuracy. Regular servicing and calibration of the calibration tools themselves are essential to avoid introducing errors or inconsistencies during the calibration process, thereby ensuring the reliability of the transmitter’s performance.
Environmental Considerations
When calibrating the EJA310A yokogawa absolute pressure transmitter, it's vital to account for environmental factors that could impact calibration accuracy. Temperature, humidity, and pressure variations can influence both the calibration process and the transmitter's performance. Conduct calibrations in a controlled environment where these factors are stable, or compensate for any deviations that might affect the calibration. By considering these environmental conditions, you ensure that the transmitter's performance remains consistent and reliable under varying operational circumstances.
Troubleshooting Common Calibration Issues
Despite following the calibration process carefully, you may encounter some common issues. Here are a few troubleshooting tips:
Inconsistent Readings:
· Check for leaks in the pressure lines.
· Ensure that the transmitter is properly isolated from the process.
· Verify that the calibration equipment is functioning correctly.
Output Signal Drift:
· Recheck the zero and span adjustments.
· Inspect the transmitter for any physical damage or wear.
· Ensure that the transmitter is operating within its specified temperature range.
Communication Errors with HART Communicator:
· Ensure that the HART communicator is properly connected and configured.
· Check for any interference or noise in the communication lines.
· Restart the HART communicator and try again.
Conclusion
Calibrating the Yokogawa EJA310A Absolute Pressure Transmitter is a vital process to ensure accurate and reliable pressure measurements. By following this guide, you can perform the calibration efficiently and maintain the optimal performance of your pressure transmitter. Regular calibration, high-quality equipment, and adherence to best practices will help you achieve precise and consistent measurements in your industrial applications.
If you want to get more information about this product, you can contact us at lm@zyyinstrument.com.
References
1.Yokogawa Electric Corporation. EJA-E Series Absolute and Gauge Pressure Transmitters: Instruction Manual. Yokogawa Electric Corporation.
2.Fink, A. & McCormick, W. Industrial Instrumentation: Principles and Applications. McGraw-Hill Education.
3.Smith, R. & O’Neill, J. Instrumentation and Process Control. CRC Press.
4.McMillan, J. Pressure Measurement and Calibration. ISA - The Instrumentation, Systems, and Automation Society.
5.Buchanan, J. & White, S. Process Control: Instrumentation Technology. Pearson.
6.Baker, R. & Dunford, B. Calibration Techniques for Pressure Transmitters. Wiley-Interscience.
YOU MAY LIKE

Yokogawa EJX310A high-performance absolute pressure transmitter

